
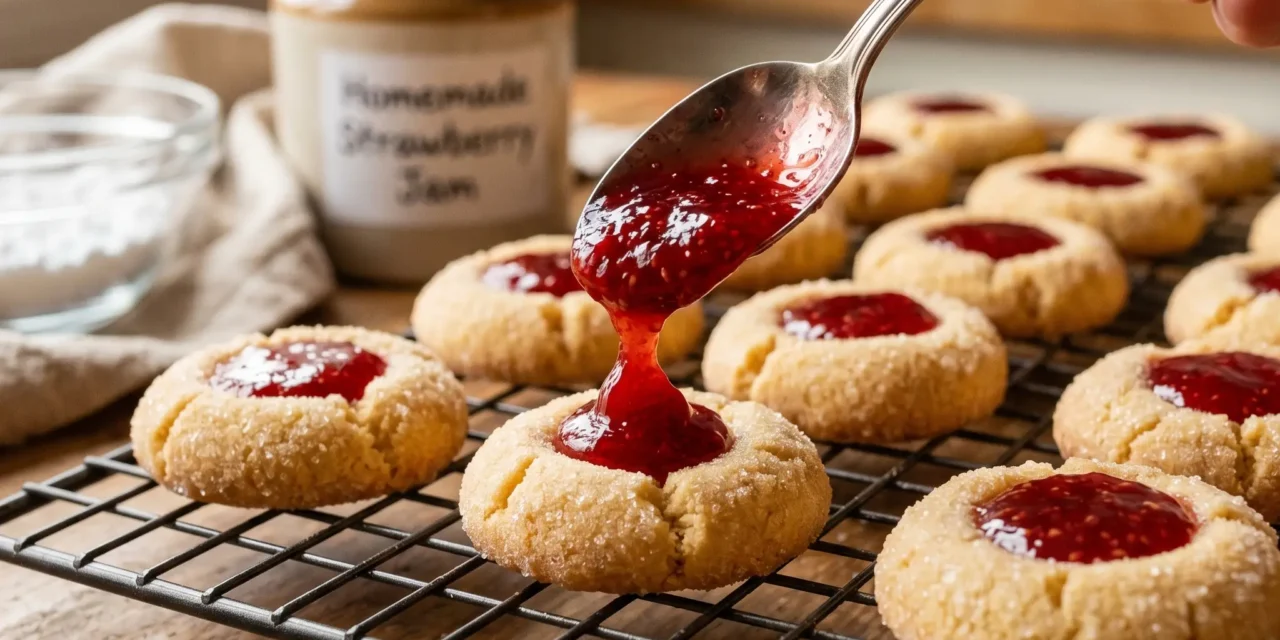
I can still remember that warm summer afternoon when my grandmother pulled a tray of fresh Strawberry Jam Thumbprints out of the oven. The sweet aroma wafted through the house, luring me into the kitchen like a siren’s call. I was just a kid then, but those gooey, jam-filled cookies left a lasting impression on me. As she carefully pressed her thumb into the soft dough, creating little wells for the vibrant strawberry jam, I couldn’t help but wonder how something so simple could taste so heavenly.
Every bite was a burst of flavor, a delightful combination of buttery sweetness and tart jam that made my taste buds dance. We spent the afternoon baking together, and those Strawberry Jam Thumbprints became our special recipe, one that I carried with me into adulthood. Whenever I make these cookies now, I’m transported back to that cozy kitchen, surrounded by laughter and love. Whether it’s for a family gathering or just a quiet evening at home, these Strawberry Jam Thumbprints always bring joy and nostalgia.
As I share this recipe, I can’t help but feel excited for you to experience the same magic. They’re not just cookies; they’re little bites of happiness that evoke cherished memories. So, let’s get baking!
Why This Strawberry Jam Thumbprints Recipe Will Become Your Go-To
The Secret Behind Perfect Strawberry Jam Thumbprints
What makes this Strawberry Jam Thumbprints recipe stand out is its simplicity and the way it celebrates the flavors of summer. The buttery dough acts as the perfect canvas, allowing the sweet and tangy strawberry jam to shine through. The combination of granulated and brown sugars gives these cookies a delightful depth of flavor, while the vanilla extract adds a warm, aromatic touch that elevates every bite.
The technique is straightforward but rewarding; pressing your thumb into the dough creates just the right amount of space for the jam, ensuring it doesn’t overflow during baking. Plus, the texture is spot-on—soft and chewy on the inside, with a slight crispness around the edges. With just 15 minutes of prep time and 18 minutes of cooking, you’ll have a batch of 24 cookies ready to impress your friends and family. Trust me, once you try these Strawberry Jam Thumbprints, they’ll quickly become a staple in your baking repertoire.
Essential Ingredients You’ll Need
To create irresistible Strawberry Jam Thumbprints, you’ll need the following ingredients:
1 cup unsalted butter, softened: This is the base for your cookies. Softened butter ensures a creamy texture, making it easier to blend with sugars and creating a tender cookie.
1/2 cup granulated sugar: This sweetener gives the cookies their delightful sweetness and contributes to their crisp texture.
1/4 cup brown sugar, packed: The molasses in brown sugar adds moisture and a deeper flavor profile, enhancing the overall taste of the cookies.
1 teaspoon vanilla extract: A must-have in cookies, vanilla extract infuses a warm, sweet aroma that complements the strawberry jam perfectly.
2 cups all-purpose flour: Flour provides the structure for your cookies. The right amount helps achieve that perfect balance between chewy and crumbly.
1/4 teaspoon salt: A pinch of salt enhances the sweetness and balances the flavors, making every bite more delicious.
1/2 cup strawberry jam: The star of the show! Choose a good quality jam for the best flavor, as it brings a fruity, tart contrast to the buttery cookie base.
Step-by-Step Strawberry Jam Thumbprints Instructions
Preparing Your Strawberry Jam Thumbprints
Making these Strawberry Jam Thumbprints is a breeze. With a prep time of just 15 minutes and a cook time of 18 minutes, you’ll have them ready in a total of 33 minutes. Before we dive into the steps, gather your baking equipment: a mixing bowl, a baking sheet, parchment paper, and a spoon for jam filling. Let’s get started!
1- In a large mixing bowl, combine the softened unsalted butter, granulated sugar, and brown sugar. Using an electric mixer, cream the mixture on medium speed for about 2-3 minutes until it’s light and fluffy. You’ll know it’s ready when the mixture is pale and airy, with a slight sheen.
2- Add in the vanilla extract and mix for another 30 seconds, allowing the vanilla to blend seamlessly with the butter and sugars. The aroma should be intoxicating at this point—sweet and inviting!
3- Gradually add the all-purpose flour and salt to the butter mixture. Mix on low speed until just combined, ensuring you don’t overwork the dough. You want it to be soft and slightly sticky but not overly wet.
4- Preheat your oven to 350°F (175°C). While it’s heating, scoop tablespoon-sized amounts of dough and roll them into balls. Place them about 2 inches apart on the prepared baking sheet. The dough should look smooth and uniform, ready for their thumbprint wells.
5- With your thumb or the back of a spoon, create a small indentation in the center of each cookie ball. You want the well to be deep enough to hold the jam but not so deep that it cracks the sides. This step is crucial for ensuring the jam stays put during baking.
6- Fill each indentation with about half a teaspoon of strawberry jam. Be careful not to overfill; otherwise, the jam will bubble over while baking. Once filled, place the baking sheet in the preheated oven and bake for 15-18 minutes or until the edges are lightly golden. The cookies should smell heavenly, and the jam will be bubbly and fragrant.
Pro Tips for Success
To ensure your Strawberry Jam Thumbprints turn out perfect, here are some pro tips:
- Use room temperature butter for easier mixing, ensuring a smoother cookie dough.
- Avoid overmixing after adding flour; this helps maintain a tender texture.
- Experiment with different jams or jellies for unique flavor twists—raspberry or apricot work wonderfully too!
- Make sure to cool the cookies on the baking sheet for a few minutes before transferring them to a wire rack to prevent breakage.
- Don’t skip the salt; it elevates the sweetness and balances flavors beautifully.
Serving and Storing Your Strawberry Jam Thumbprints
Perfect Pairings for Strawberry Jam Thumbprints
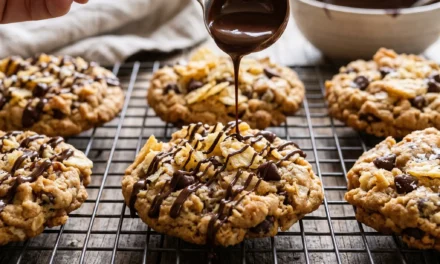
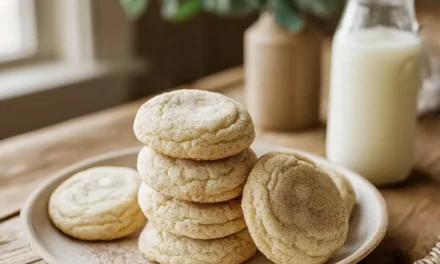
These Strawberry Jam Thumbprints serve 24 cookies, making them perfect for sharing at gatherings, afternoon tea, or holiday parties. Pair them with a warm cup of tea or freshly brewed coffee for a delightful afternoon treat. They also make a great addition to dessert platters alongside chocolate chip cookies and shortbreads. For a festive touch, serve them with a scoop of vanilla ice cream for a sweet twist!
Storage and Make-Ahead Tips
To store your Strawberry Jam Thumbprints, keep them in an airtight container at room temperature for up to a week. If you want to make them ahead of time, you can freeze the cookies before baking. Simply place the unbaked cookie dough balls on a baking sheet, freeze until solid, then transfer them to a freezer-safe bag. When you’re ready to bake, just add a couple of extra minutes to the cooking time. For baked cookies, they can be frozen for up to three months. Just thaw them at room temperature before serving.
Variations and Dietary Adaptations for Strawberry Jam Thumbprints
Creative Strawberry Jam Thumbprints Variations
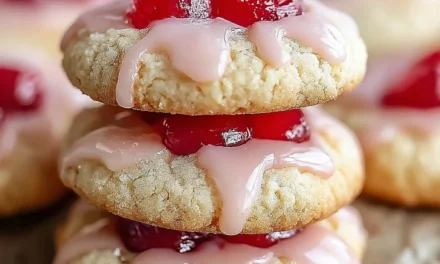
Feel free to get creative with your Strawberry Jam Thumbprints! Try swapping out the strawberry jam for other fruit jams like raspberry, blueberry, or even lemon curd for a zesty twist. You can also incorporate different extracts, such as almond or orange, to change the flavor profile. For a chocolatey variation, press a piece of chocolate into the center instead of jam—delicious!
Making Strawberry Jam Thumbprints Diet-Friendly
If you’re looking to adapt this recipe for dietary restrictions, it’s easier than you might think! To make gluten-free Strawberry Jam Thumbprints, simply substitute the all-purpose flour with a 1:1 gluten-free flour blend. For a vegan version, replace the unsalted butter with a plant-based alternative and use aquafaba (the liquid from canned chickpeas) instead of eggs. You can also find low-sugar or no-sugar-added jams for a healthier treat without sacrificing flavor.
Frequently Asked Questions
Q: Can I use a different type of jam for these cookies?
A: Absolutely! You can experiment with various jams like raspberry, apricot, or even lemon curd. The key is to choose a jam you love, as it will significantly impact the final taste of your Strawberry Jam Thumbprints.
Q: How can I make sure my cookies are baked perfectly in 33 minutes?
A: Follow the recipe closely, and keep an eye on your cookies as they bake. They should be lightly golden around the edges, and the jam will be bubbly. If you’re using a different oven, baking times may vary slightly.
Q: Can I make these Strawberry Jam Thumbprints ahead of time?
A: Yes! You can prepare the cookie dough and freeze it for later, or bake the cookies ahead of time and store them in an airtight container. Just be sure to consume them within a week at room temperature or freeze for up to three months.
Q: How many cookies does this recipe yield?
A: This Strawberry Jam Thumbprints recipe yields 24 cookies. If you’d like to make more, simply double the recipe and enjoy sharing with friends and family!
Q: What should I do if my cookies spread too much while baking?
A: If your cookies spread too much, it could be due to softened butter. Make sure your butter is just softened, not melted. You can also chill the dough for 30 minutes before baking to help them retain their shape.
Conclusion
I hope you’re excited to bake your own batch of Strawberry Jam Thumbprints! These cookies are not just a treat; they’re a nostalgic journey back to simpler times filled with love and laughter. I encourage you to give this recipe a try and share your experiences in the comments. Let’s create new memories together, one delicious cookie at a time! Enjoy every bite of these delightful Strawberry Jam Thumbprints!

